It's
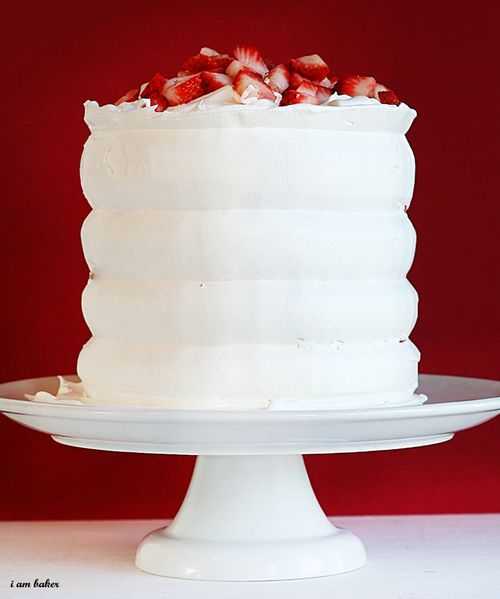
Pinterest day! Today I'm going to share with you a recipe that I found. It was super easy and very very good. Red Velvet Strawberry Shortcake by
I am Baker.
I made this for my mom's birthday a few weeks ago and it was a big hit. It was one of the easiest cakes I've ever made. It traveled ok but I had to hold it on my lap for the 25 min drive. If I was to make it again I would probably assemble it once we got to our destination.
 |
| Photo by I am Baker |
|
You will need:
- 1 red velvet cake mix
- 1 white cake mix
- Eggs and oil as cake mix specifies
- Whipped cream (I had 2 containers to be safe)
- Fresh strawberries (I used 1 quart but I really like strawberries and I have 2 monsters at home that love them too)
How to make the masterpiece:
- Prepare cake mixes as instructed on their box. I made each cake in 2 - 9 inch pans but would probably spread it out to 3 - 9 inch pans and still only use 2 layers of each cake. Let them cool. Since I made these in January I was able to set them outside and they cooled really quick.
- While the cakes are baking you can wash and cut up the strawberries. I chose to dice them but you could cut them in nice slices as well.
- After the cakes are cool take the bottom layer (start with one of the red velvet layers) and apply a nice coating of whipped cream followed by some strawberries. Next place a white layer on top. Top with whip cream and then strawberries.
- Repeat the last step alternating between the different cakes until you use up your cake or you get to the desired height.
Looks yummy, right?
 |
| Photo taken by Laura Henry |
|
- Lastly you can either leave the cake as is or you can ice the sides. I decided that I liked the look of the iced sides so I placed a thin "dirty" layer of icing (just some plain white icing that I had in the fridge) on the outside, placed the cake outside for about 30 min to chill and then iced it with the remaining whipped cream. Check out this tutorial from I am Baker to see some neat frosting tips.
Tada! Here it is.
 |
| Photo taken by Laura Henry |
 |
| Photo taken by Laura Henry |
|
The boys are helping out by putting the candles on the cake. It was funny because they all ended up in one little corner. A few ended up upside down too. Silly boys!
It was very good. The only problem that we ran into was it was kind of hard to cut and the slices were quite big. But everyone enjoyed it!
 |
| Photo taken by Laura Henry |
The cake looked like it was pretty tall so we measured it. It was 6 inches tall. Kind of hard to believe that it was only 6 inches (we were thinking more along the lines of 8) but my mom, Christi and I had a good laugh about that. Um, yeah, use your imagination.


When will you make this again? Wait you are going to have to wait until after this crash diet I am on... so mid April please :-D
ReplyDeleteI should put this recipe into Livestrong and see what it comes up with on calorie count, etc.... Of course I will make it again. It was super easy & delish! :)
ReplyDelete